

Introduction
WordPress has become synonymous with website creation, powering millions of sites across the internet. Its user-friendly interface, customizable themes, and extensive plugin library make it the go-to choice for both beginners and seasoned developers alike. In this comprehensive tutorial, we’ll walk you through the step-by-step process of installing WordPress, from choosing a hosting provider to configuring your site. Whether you’re a blogger, entrepreneur, or aspiring web developer, by the end of this guide, you’ll be well-equipped to launch your WordPress-powered website with confidence.
Choosing a Hosting Provider
The first step in installing WordPress is selecting a hosting provider that meets your needs. Consider factors such as price, reliability, customer support, and server performance. Popular hosting providers like Bluehost, SiteGround, and HostGator offer one-click WordPress installations and excellent support for beginners.
Registering a Domain Name
Once you’ve chosen a hosting provider, it’s time to register a domain name for your website. Your domain name is your site’s address on the internet (e.g., www.yourwebsite.com). Choose a domain name that reflects your brand or niche and is easy to remember. Most hosting providers offer domain registration services as part of their packages.
Setting Up Hosting Account
After registering your domain name, you’ll need to set up your hosting account. Follow the instructions provided by your hosting provider to create an account and log in to your hosting dashboard. Here, you’ll find tools and resources to manage your website, including the option to install WordPress.
Installing WordPress
With your hosting account set up, it’s time to install WordPress. Most hosting providers offer one-click installations, making the process quick and straightforward. Simply navigate to your hosting dashboard, locate the WordPress installer, and follow the prompts to complete the installation process. Alternatively, you can install WordPress manually by downloading the latest version from wordpress.org and uploading it to your server via FTP.
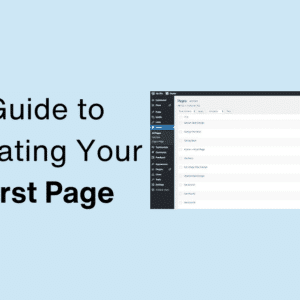
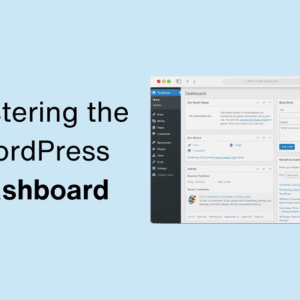
Configuring WordPress
Once WordPress is installed, you’ll need to configure some basic settings to get your site up and running. Log in to your WordPress dashboard using the credentials you created during the installation process. From here, you can customize your site’s title, tagline, and permalink structure. You can also choose a theme to change the look and feel of your site and install plugins to add functionality.
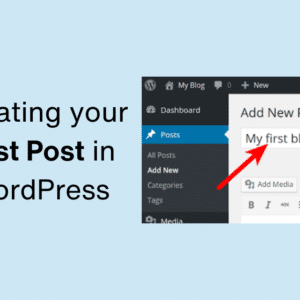
Creating Your First Post
With WordPress installed and configured, it’s time to create your first post. Navigate to the Posts section in your WordPress dashboard and click on the ‘Add New’ button. Here, you can enter a title for your post, write your content using the built-in editor, and add media such as images and videos. Once you’re satisfied with your post, click the ‘Publish’ button to make it live on your site.
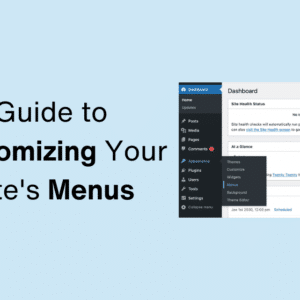
Customizing Your Website
WordPress offers endless possibilities for customization, allowing you to create a website that reflects your unique style and brand. Explore the theme directory to find a theme that suits your needs, or consider hiring a developer to create a custom theme for you. You can also extend the functionality of your site by installing plugins for additional features such as contact forms, e-commerce capabilities, and SEO optimization.
Maintaining Your Website
Congratulations, your WordPress site is now live! But the work doesn’t stop there. Regular maintenance is essential to keep your site secure, up-to-date, and running smoothly. Be sure to install updates for WordPress core, themes, and plugins regularly, and perform backups of your site to protect against data loss. Additionally, monitor your site’s performance and security using tools like Google Analytics and security plugins.
Conclusion
In conclusion, installing WordPress is the first step towards creating a powerful and dynamic website that can grow with your business or personal brand. By following the step-by-step process outlined in this guide and taking advantage of WordPress’s flexibility and customization options, you can launch a professional-looking website with ease. Whether you’re a blogger, entrepreneur, or hobbyist, WordPress provides the tools and resources you need to bring your vision to life on the web.

This Post Has 2 Comments